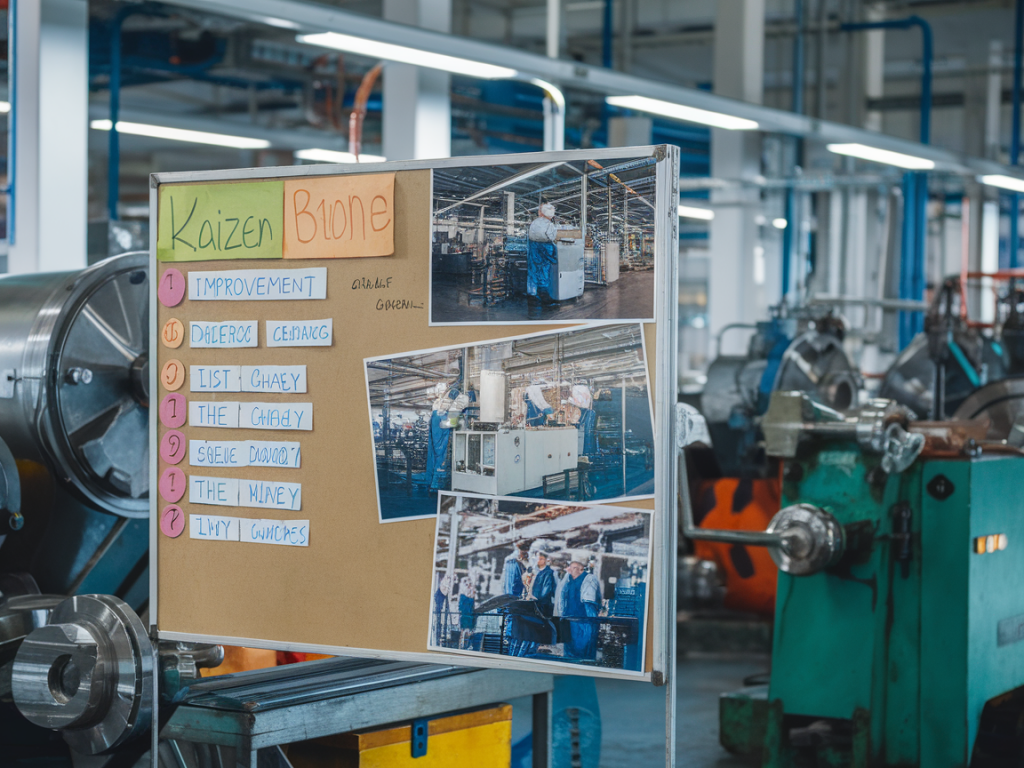
I recently ran a 48‑hour lean kaizen experiment on a medium‑volume production line to see whether short, focused improvement bursts can deliver dramatic scrap reductions. The target I set with the team was bold but simple: reduce scrap by 40% within the two‑day event window and validate whether the gains were repeatable. Below I share the plan I used, the metrics we tracked, the roles and tools that mattered, and the practical trade‑offs you should expect if you run this in your plant.

Why a 48‑hour kaizen?

Long projects often lose momentum and political support. Short, intense kaizen events force prioritization, make experimentation low‑cost, and create immediate operational wins you can measure and defend. From my experience, the best use cases for a 48‑hour window are well‑contained problems with measurable outputs: scrap, cycle time on a single process, set‑up time for a machine family, or a specific quality defect mode.

We chose scrap reduction for this experiment because it directly affects yield, margin, and sustainability metrics. With a clear baseline and a small cross‑functional team, you can run hypothesis‑driven experiments that either validate a change or rule it out fast.

Scope and boundaries

To keep the event achievable, define a tight scope:

  • Select one product family or one cell/line.
  • Limit to the top one or two defect categories that account for ~70% of scrap (Pareto rule).
  • Exclude upstream process changes that require capital investment or suppliers — focus on operator behavior, fixturing, tooling, standard work, and quick Poka‑Yoke fixes.
  • For our pilot the line produced an electro‑mechanical subassembly. Two defect codes — improper connector seating and solder splatter — represented 68% of scrap by cost. That became our north star.

    Team and roles

    A small, empowered team moves fast. My recommended composition:

  • Facilitator (1) — drives the event, keeps timeboxes, and ensures experiments are documented. Preferably someone with lean coaching experience.
  • Process owner/operator(s) (2–3) — people who run the machine or do the hands‑on work every day.
  • Quality engineer (1) — brings measurement discipline and helps define defect definitions.
  • Maintenance/automation technician (1) — for quick mechanical or sensor fixes.
  • Data/IT support (1, part‑time) — to extract production and traceability data, or configure temporary MES/SCADA logging if needed.
  • I personally take the facilitator role in early pilots — it keeps the team focused on testable hypotheses rather than design perfection.

    Pre‑event preparation (1–2 business days)

    Do this before the 48‑hour window starts so the team can hit the ground running:

  • Gather baseline data: scrap counts by defect code, cycle time, throughput, operator shifts, and rework time for the past 30 days.
  • Map the current process with photos/video: show material flow, tooling, and handoffs.
  • Collect FMEA and previous CAPA records related to the defects.
  • Secure management approval for low‑cost materials (< £1,000) and temporary line stoppages.
  • 48‑hour experiment schedule

    Use timeboxes. Here’s a practical breakdown we used (all times are working hours):

  • Day 0 — Kickoff (1 hour): align on objective, baseline, roles, and safety rules.
  • Day 0 — Gemba & root cause sprint (3 hours): observe 10–30 cycles, take measurements, and run quick 5‑Why sessions.
  • Day 0 — Hypothesis generation and prioritization (2 hours): create a list of countermeasures, then use impact/effort voting (dot‑voting).
  • Day 1 — Rapid experiments (8 hours): implement 2–4 experiments in parallel where possible; each experiment runs for defined sub‑cycles.
  • Day 1 — Midpoint review (1 hour): review results, drop ineffective ideas, scale promising ones.
  • Day 2 — Confirmatory runs and SOP updates (6 hours): run repeats to ensure changes hold across shifts; update standard work documentation.
  • Day 2 — Handover and next steps (2 hours): finalize measurements, assign owners for sustained control, plan longer‑term fixes if needed.
  • Key experiments that worked for us

    We prioritized low‑effort, high‑impact countermeasures. Examples:

  • Mechanical spacer: simple 3D‑printed guide that improved connector seating consistency. Cost: £15 in materials, installed in 30 minutes.
  • Visual inspection cue: a red/green alignment sticker and brief operator checklist reduced misseating by forcing a tactile/visual check before pressing.
  • Local solder fume shroud and nozzle alignment jig: reduced splatter by tightening nozzle spacing; required a 1‑hour maintenance window.
  • Temporary poka‑yoke sensor (OMRON proximity switch) configured to reject parts where the connector did not fully insert — used as a verification step rather than a hard stop to avoid false rejects.
  • Metrics and how to measure them

    Every experiment needs clear pass/fail criteria. The KPIs we tracked in the event:

    MetricDefinitionTarget
    Scrap rate (by cost)Value of scrapped parts / total manufactured value per shift-40% vs baseline
    Defect count per 1,000 pcsNumber of recorded defects for target codes per 1,000 units-50% for primary code
    First‑pass yield (FPY)% of parts passing final test without rework+10 percentage points
    Cycle time varianceStandard deviation of cycle time across shiftsReduce by 20%
    Operator touch‑time for inspectionAdditional seconds per part to perform new check<= 4 seconds

    Use short sampling intervals (e.g., every 2 hours) during the event, then expand to shift‑level metrics for validation. I recommend simple tools: a spreadsheet dashboard, or if you have Shopfloor MES (e.g., Siemens Opcenter, Rockwell FactoryTalk) pull the defect tags directly for live monitoring.

    Data integrity and statistical thinking

    Don’t be fooled by short‑run noise. To claim a 40% reduction, you need to show consistency across multiple sub‑samples and at least one full shift of production after changes. We used these rules of thumb:

  • Minimum sample size: 200–500 parts per condition (depends on baseline defect incidence).
  • Run a quick hypothesis test (Chi‑square or proportion test) if your team is comfortable — otherwise use repeated sampling and visual control charts to show sustained change.
  • Track both absolute defect counts and cost impact; some changes reduce the most frequent defects but not the most expensive ones.
  • Sustainment and handover

    Short‑term wins are wasted if they aren’t locked into daily practice. Our sustainment checklist:

  • Update standard work and attach photos to the operator station.
  • Add the new inspections to the digital shift log or paper logbook with clear acceptance criteria.
  • Assign a process owner and a weekly KPI review for the next 30 days.
  • If a temporary fixture proves effective, create an ECO to purchase or internally produce a durable version.
  • Risks and mitigations

    Expect some pushback and a few pitfalls:

  • False positives: short runs can produce misleading improvements. Mitigate by repeating experiments across shifts.
  • Operator overload: adding checks can slow the line. Measure touch‑time and prioritize ergonomic solutions.
  • Automation gatekeeping: avoid premature PLC interlocks that stop the line for minor deviations — start with warning signals and manual interventions.
  • In our pilot the 48‑hour kaizen delivered a 42% reduction in scrap cost for the scoped defects and improved FPY by 11 percentage points. The gains held over the next 30 days after we formalized the fixture and updated the SOPs. A focused, evidence‑based kaizen doesn’t guarantee a miracle, but it often surfaces high‑impact, low‑cost countermeasures quickly — and that’s precisely the kind of outcome my engineering teams and clients find most defensible.