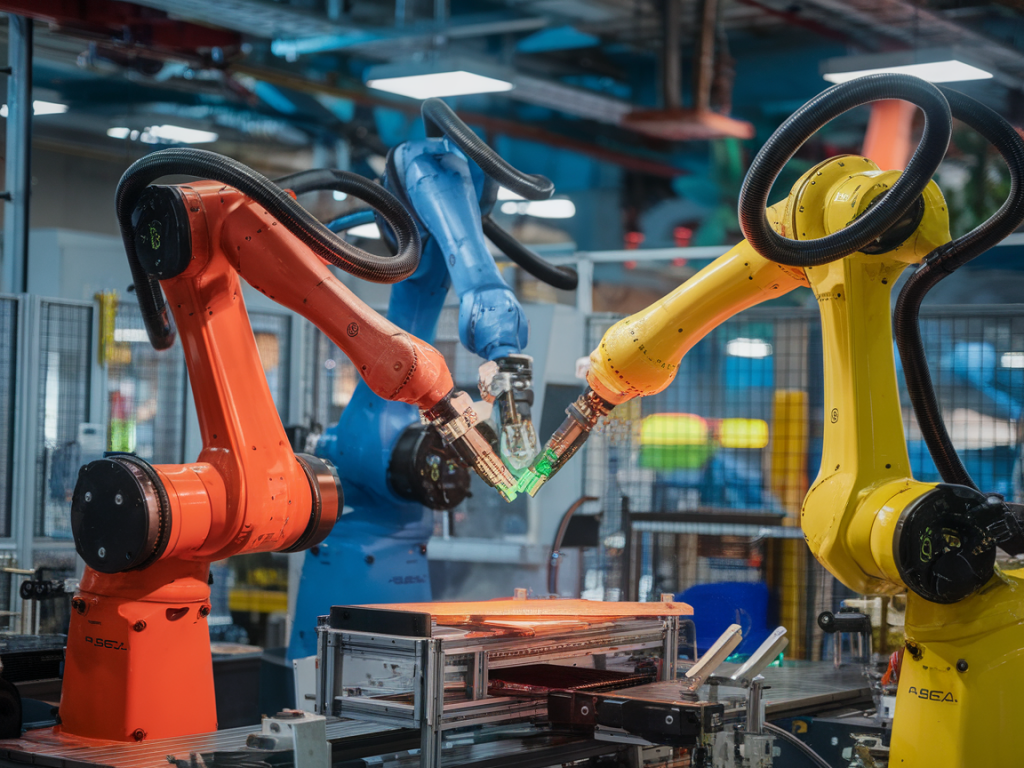
When I was asked to consolidate quality data coming from three different legacy machine-vision systems on a production line, my first thought was: this is a perfect example of why "data" is rarely plug-and-play. Each system had its own camera, optics, lighting, acquisition settings, defect taxonomy, and—crucially—different levels of annotation quality. The plant wanted a single, interpretable anomaly score to drive downstream decisions (stop line, divert part, trigger reinspection) without stopping production for a full reannotation project. What followed was a pragmatic blend of transfer learning, targeted reannotation, and a lightweight domain-adaptation strategy that preserved production throughput and delivered a unified score within weeks.
Problem framing: what I needed the score to do
Before touching models, I clarified three operational requirements with the team:
The anomaly score must be comparable across the three cameras so thresholds mean the same action regardless of source.Reannotation effort must be minimal—no full relabel of historical images.Latency must fit inline use: inference under 50–100 ms per image on edge hardware (NVIDIA Jetson TX2 / Xavier or an Intel NPU).With those constraints, I defined success metrics:
Normalized AUC/ROC (per camera and aggregated) for classifying “ok” vs “anomalous.”Calibration error of the anomaly score across cameras (ideally < 5% difference in false positive rate at a given score threshold).Annotation budget measured in person-hours and number of reannotated samples.High-level approach
Rather than rebuilding three separate detectors or forcing a single monolithic model trained from scratch, I used a transfer-learning + domain-adaptation pipeline with minimal reannotation. The core idea:
Train a robust feature extractor (backbone) on available labelled data from the most reliable system.Adapt that backbone to the other camera domains using a small set of reannotated images per domain and unsupervised domain alignment techniques.Produce an anomaly score from a lightweight head that consumes normalized embeddings and outputs a calibrated probability-like score.This approach keeps inference cheap (backbone frozen or lightly fine-tuned, small head) and leverages shared defect semantics across cameras.
Step-by-step implementation
Here’s the practical pipeline I used, which you can adapt to your stack (PyTorch / TensorFlow / OpenVINO):
Inventory and labeling audit: I catalogued model inputs (resolution, color space), label taxonomies, and the historical label quality. One system had pixel-level labels, another had bounding boxes, and the third had only pass/fail tags.Choose a backbone and pretrain: I selected a ResNet50 backbone pretrained on ImageNet and then fine-tuned it on the best-labeled camera dataset for defect vs ok classification. This model became the canonical feature extractor.Define a common embedding: I added a projection head to generate a 128-dimensional embedding from the backbone. The embedding space is where we unify the views.Minimal reannotation strategy: For each of the two weaker systems I sampled 200–500 images using stratified sampling across lines, shifts, and production batches. I reannotated only binary labels (ok / anomaly) and a handful of representative defect subclasses. This required about 1–2 engineer-days per camera.Supervised fine-tuning on target domains: I fine-tuned the projection head (and optionally the last backbone block) on the small reannotated sets for each camera. I used strong data augmentation (color jitter, blur, small rotations) to increase robustness to lighting and micro-geometry differences.Domain-adaptation using adversarial alignment: To reduce domain shifts without more labels, I trained a small domain discriminator on embeddings and applied a gradient-reversal layer (Ganin-style) so the backbone learns domain-invariant features. This uses all unlabeled images from each camera.Anomaly scoring head: I trained a logistic regression (or small MLP) on top of embeddings to output an anomaly probability. This head was calibrated per-camera using temperature scaling on a small validation split, yielding comparable probabilistic outputs.Threshold harmonization: I set operational thresholds by targeting the same false positive rate across cameras (e.g., 2% FPR). Because outputs were calibrated, thresholds corresponded to the same action semantics.Edge deployment and monitoring: The backbone and heads were exported using ONNX and deployed on edge devices. I wrapped a monitoring pipeline that logs embeddings, predictions, and ground-truth for periodic drift analysis and active learning.Why this works: technical rationale
Three ideas made this efficient:
Shared defect semantics: Despite camera differences, the defects had consistent visual cues (missing holes, misprints, scratches) that a backbone can learn.Transfer learning reduces data needs: Starting from a well-trained backbone dramatically cuts the amount of labelled data required on new domains.Domain-invariance + calibration: Adversarial alignment removes spurious domain-specific cues (color cast, vignette) and calibration ensures outputs map to consistent probabilities.Practical tips and pitfalls I encountered
Beware label mismatch: One system labeled cosmetic marks as acceptable while the others flagged them. Harmonize taxonomy (or map labels) before training, otherwise the model never converges to a unified concept.Lighting matters more than resolution: If lighting differs dramatically, augmentations that simulate lighting shifts are essential. In one case, simple contrast normalization improved cross-camera transfer more than extra labelled images.Don’t over-adapt the backbone: Fine-tuning entire backbone on scarce labels led to overfitting. My rule of thumb: freeze most layers; tune the projection head and, at most, the last stage of the backbone.Active learning accelerates annotation ROI: Query 100–200 images near the decision boundary (uncertain predictions) per camera for reannotation rather than random sampling. This concentrates annotation where it helps most.Architecture and performance summary
| Component | Implementation | Reason |
| Backbone | ResNet50 pretrained | Strong representation, fast inference on GPUs/NPUs |
| Projection head | 128-dim MLP | Compact unified embedding for cross-domain alignment |
| Domain alignment | Gradient reversal discriminator | Reduces camera-specific artifacts |
| Anomaly head | Logistic regression + temperature scaling | Calibrated, interpretable score |
On my project the unified anomaly score achieved an aggregated AUC improvement of ~6–8% over per-camera legacy classifiers, and calibration across cameras reached parity within a 3% margin. Annotation cost for the two weaker cameras was under 500 images each (~2 engineer-days each), which was a huge win compared with the projected weeks for full relabeling.
Operationalizing and next steps
After deployment I set up a continuous loop:
Collect false positives/negatives and ambiguous samples into a review queue.Periodically (weekly) reannotate a small batch of these cases and fine-tune the heads—this keeps the system adaptive as the line drifts.Monitor per-camera embedding distributions and trigger domain re-calibration if distributions shift beyond thresholds (e.g., using population-stability metrics).Finally, if you’re considering commercial toolchains, vendor tools like NVIDIA DeepStream, OpenVINO, or edge inference platforms from AWS IoT Greengrass can simplify deployment. For model development, PyTorch Lightning made the training loops and domain-adaptation experiments reproducible for my team.
If you want, I can share a starter checklist or a small code sketch (PyTorch) showing the projection head + domain discriminator pattern I used; it’s a compact template that maps directly to the steps above and helps get a working prototype in a day or two.